


Prevent drips and achieve an even finish with these four expert tips for staining wood
Staining wood offers a multitude of advantages, ranging from enhancing its appearance to safeguarding the natural material. But when it comes to achieving a flawless finish while avoiding drips and uneven coverage, what is the best approach to staining wood?
Whether you’re revitalizing your kitchen cabinets, staining a fence, or beautifying a deck, the application technique can significantly impact the final outcome. A subpar, patchy finish can be the result of incorrect methods.
Fortunately, our experts are here to unveil the secrets of achieving impeccable wood staining results, free from unsightly drips. Discover the best way to stain wood, ensuring a flawless finish that stands the test of time.
Preserving the Beauty of Wood
Unlike paint, wood stain is not easily reversible, as it permeates the material rather than sitting on the surface. This means that mistakes can be challenging to rectify, often requiring extensive sanding that can potentially damage the overall look of the wood.
Therefore, it is crucial to get it right the first time, employing the correct techniques for a stunning and long-lasting result.
- Clean and prepare the wood
Before diving into the wood staining process, it’s essential to lay the foundation for flawless results. One crucial step is to thoroughly clean and prep the wood surface. To guide us through this crucial phase, we turn to the expertise of Shlomo Cherniak, a professional handyman and the founder of Cherniak Home Services.
According to Cherniak, it’s crucial to ensure that the wood surface is free from any existing coatings such as stains or paint. To achieve this, he suggests using 80-120-grit sandpaper to gently sand the wood. This step not only removes any previous finishes but also promotes better adhesion of the new stain.
By diligently cleaning and prepping the wood surface, you lay the groundwork for a successful staining project, setting the stage for a flawless and long-lasting finish. Stay tuned as we explore further expert tips to master the art of wood staining.
.jpg)
2. Achieve Even Absorption with Wood Conditioner
Similar to using a primer before painting wood furniture, applying a wood conditioner prior to staining is crucial for ensuring even absorption of the stain. This step is particularly essential for softer woods like pine or white wood, as explained by Rachel Blanding, a woodworker and the owner of the home blog, Everything DIY Projects.
Rachel recommends using the Minwax Pre-Stain Wood Conditioner, which can be conveniently found at Walmart. The purpose of the wood conditioner is to allow the wood to absorb the stain uniformly, preventing blotchiness and resulting in a consistent color and a long-lasting finish.
3. Stain Application in the Grain’s Direction
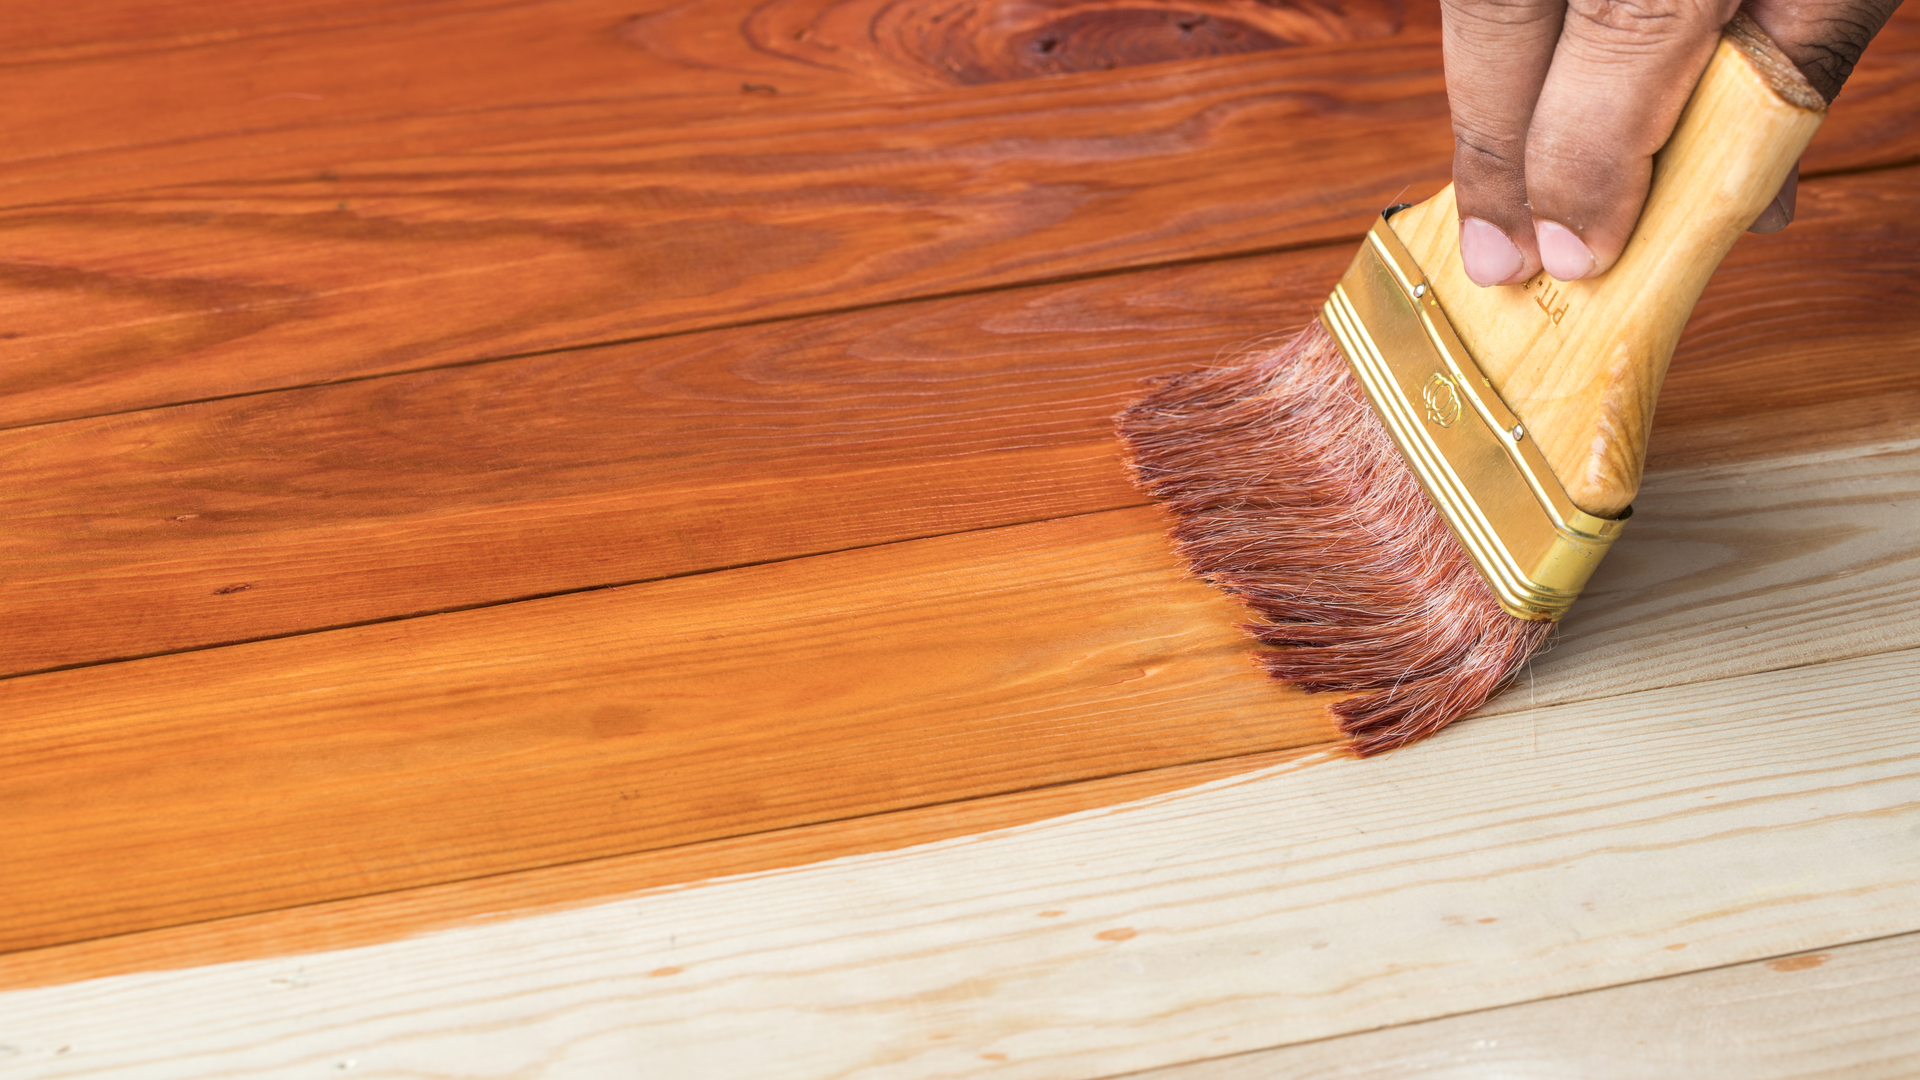
Once the wood conditioner has dried, it’s time to apply the first coat of stain. For optimal results, it’s best to work in the direction of the wood grain to ensure even coverage. Andre Kazimierski, a professional painter and CEO of Improovy, suggests using a cloth instead of a brush or roller to achieve a flawless finish without visible lines or drips. This technique is also useful when restoring wood furniture with wax or refinishing hardwood floors.
Using a lint-free cloth, either dip it directly into the stain or pour a small amount onto the wood surface as you go along. According to Andre, applying the stain with a cloth allows for better control over the stain’s movement and the amount applied, minimizing the risk of drips. Additionally, using a cloth makes it easier to promptly wipe up any drips that occur.
To prevent drips, it’s advisable to apply the stain on a flat surface. Lay the wood flat and focus on one side at a time, allowing each side to dry before moving on to the next. While this may be time-consuming, it ensures a drip-free finish, particularly on vertical edges.
4. Consider Protective Coating Based on Wood’s Location
Depending on the intended use of the stained wood, applying a protective top coat may be beneficial for maintaining the stain’s appearance over time. Tony Adams, a home improvement expert at DIYGeeks, suggests considering a top coat for items such as cabinets and furniture to guard against grease or water splashes. However, outdoor fence panels may not require a top coat if the fence stain already includes waterproofing properties.
When applying a top coat, Tony recommends using polyurethane. Stir the polyurethane thoroughly and apply it with a natural bristle brush or foam brush, following the direction of the wood grain. Allow each coat to dry for three to four hours, then lightly sand with 220-grit sandpaper, wipe the surface clean, and proceed to apply a second or third coat for added protection and a polished finish.
By following these expert tips, you can achieve professional-quality wood staining results while saving time and ensuring a beautiful, long-lasting outcome. Stay tuned for more valuable insights as we continue our exploration of the art of wood staining.

0